Place and shape a platform
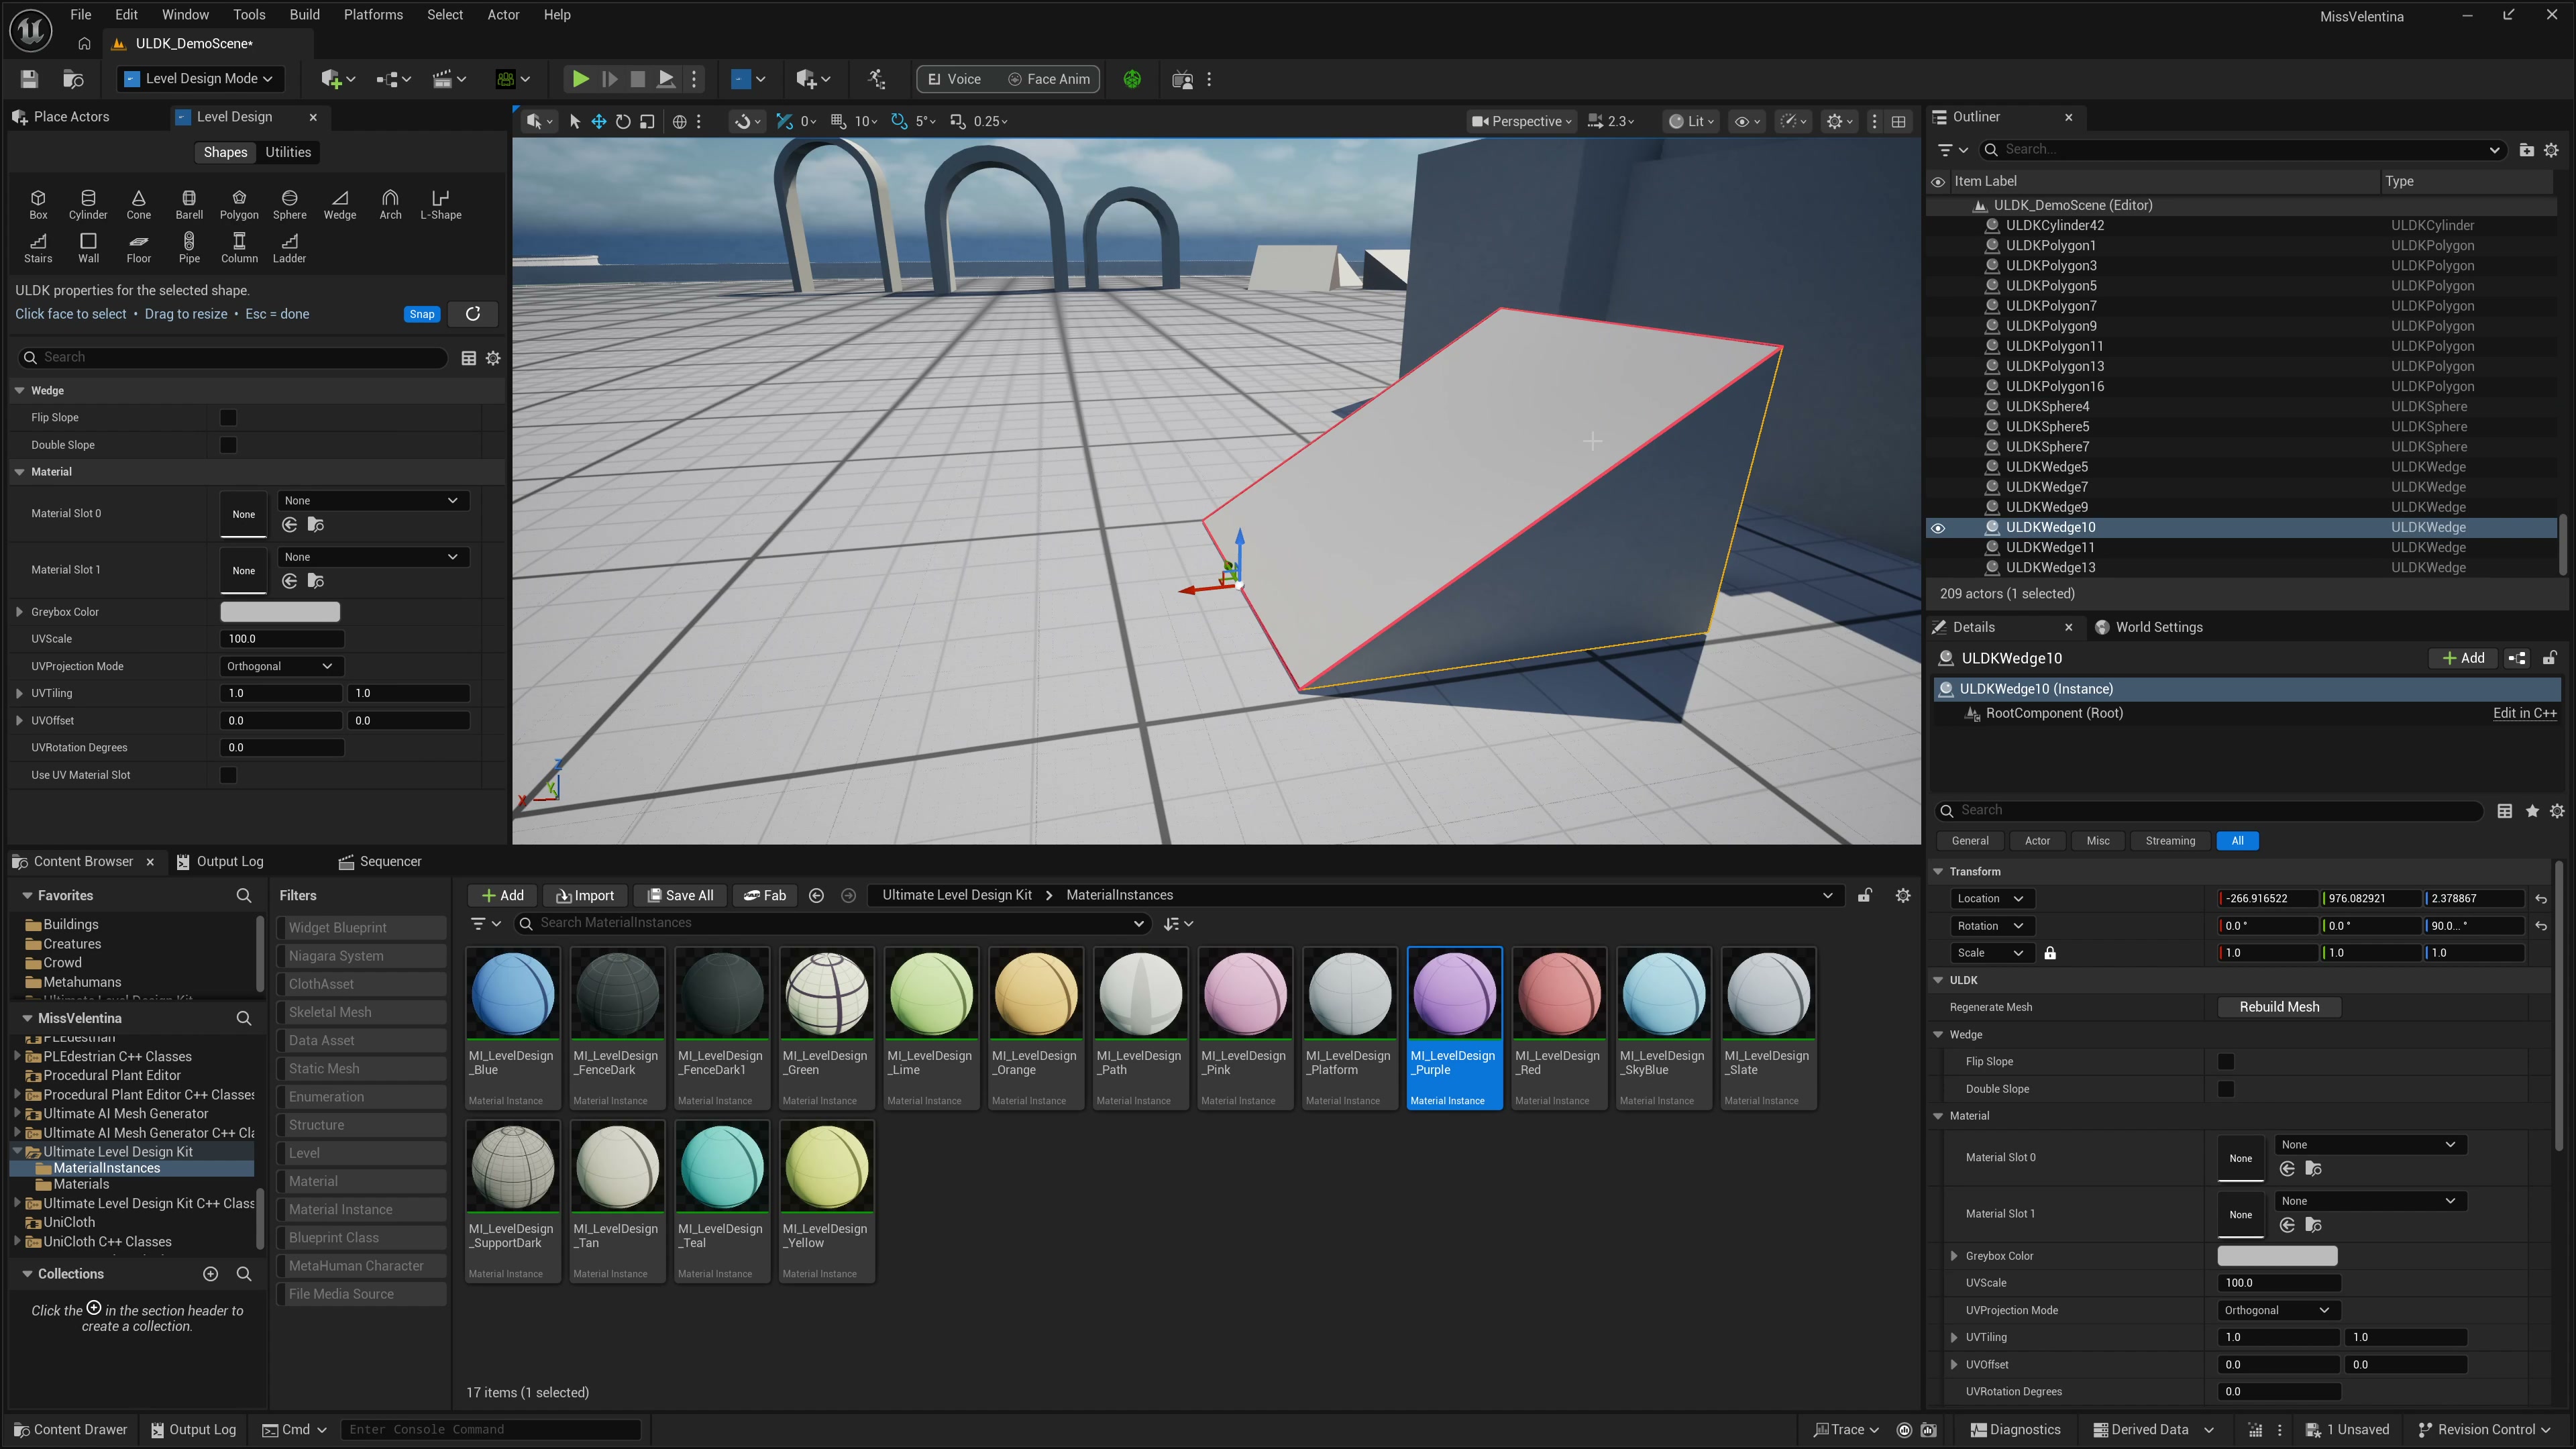
- Open Select Mode → Level Design, choose Shapes → Box, move the cursor over a blocking surface and click to place.
- Select the box and set Dimensions to X 400, Y 300, Z 40 cm. These are example values. Keep the whole platform visible as the mesh updates.
- For a room or container variant, enable Is Hollow and adjust Hollow Thickness. Inspect the interior and openings before using the shape in a traversal route.
- In face editing, select a face and press Space to open the operation menu. Choose a supported operation and drag its handle. Check the complete result; use editor Undo to compare the previous state.
Repeat the layout
- Choose Utilities → Copy. Click a source actor; use Ctrl + Click to add or remove sources, then press Enter to confirm the selection.
- Set Output Mode = Copy, Copy Count = 3 and Translation Offset = (450, 0, 0) cm. Inspect all preview outputs, then click to commit them.
- Use Output Mode = Instance when later source property edits should propagate to the repeated actors. Edit the original Dimensions and compare the linked results. Current instance output consists of independent level actors; location and rotation remain independent.
- Choose ordinary Copy when each result should be independent. Deleting an Instance source also removes its linked instances; deleting one linked instance only removes that instance.
Check scale and surface appearance
- Choose Measure, place points across a passage or gap, then press Enter to finish. Read Measure Unit and the distance display before judging traversal scale.
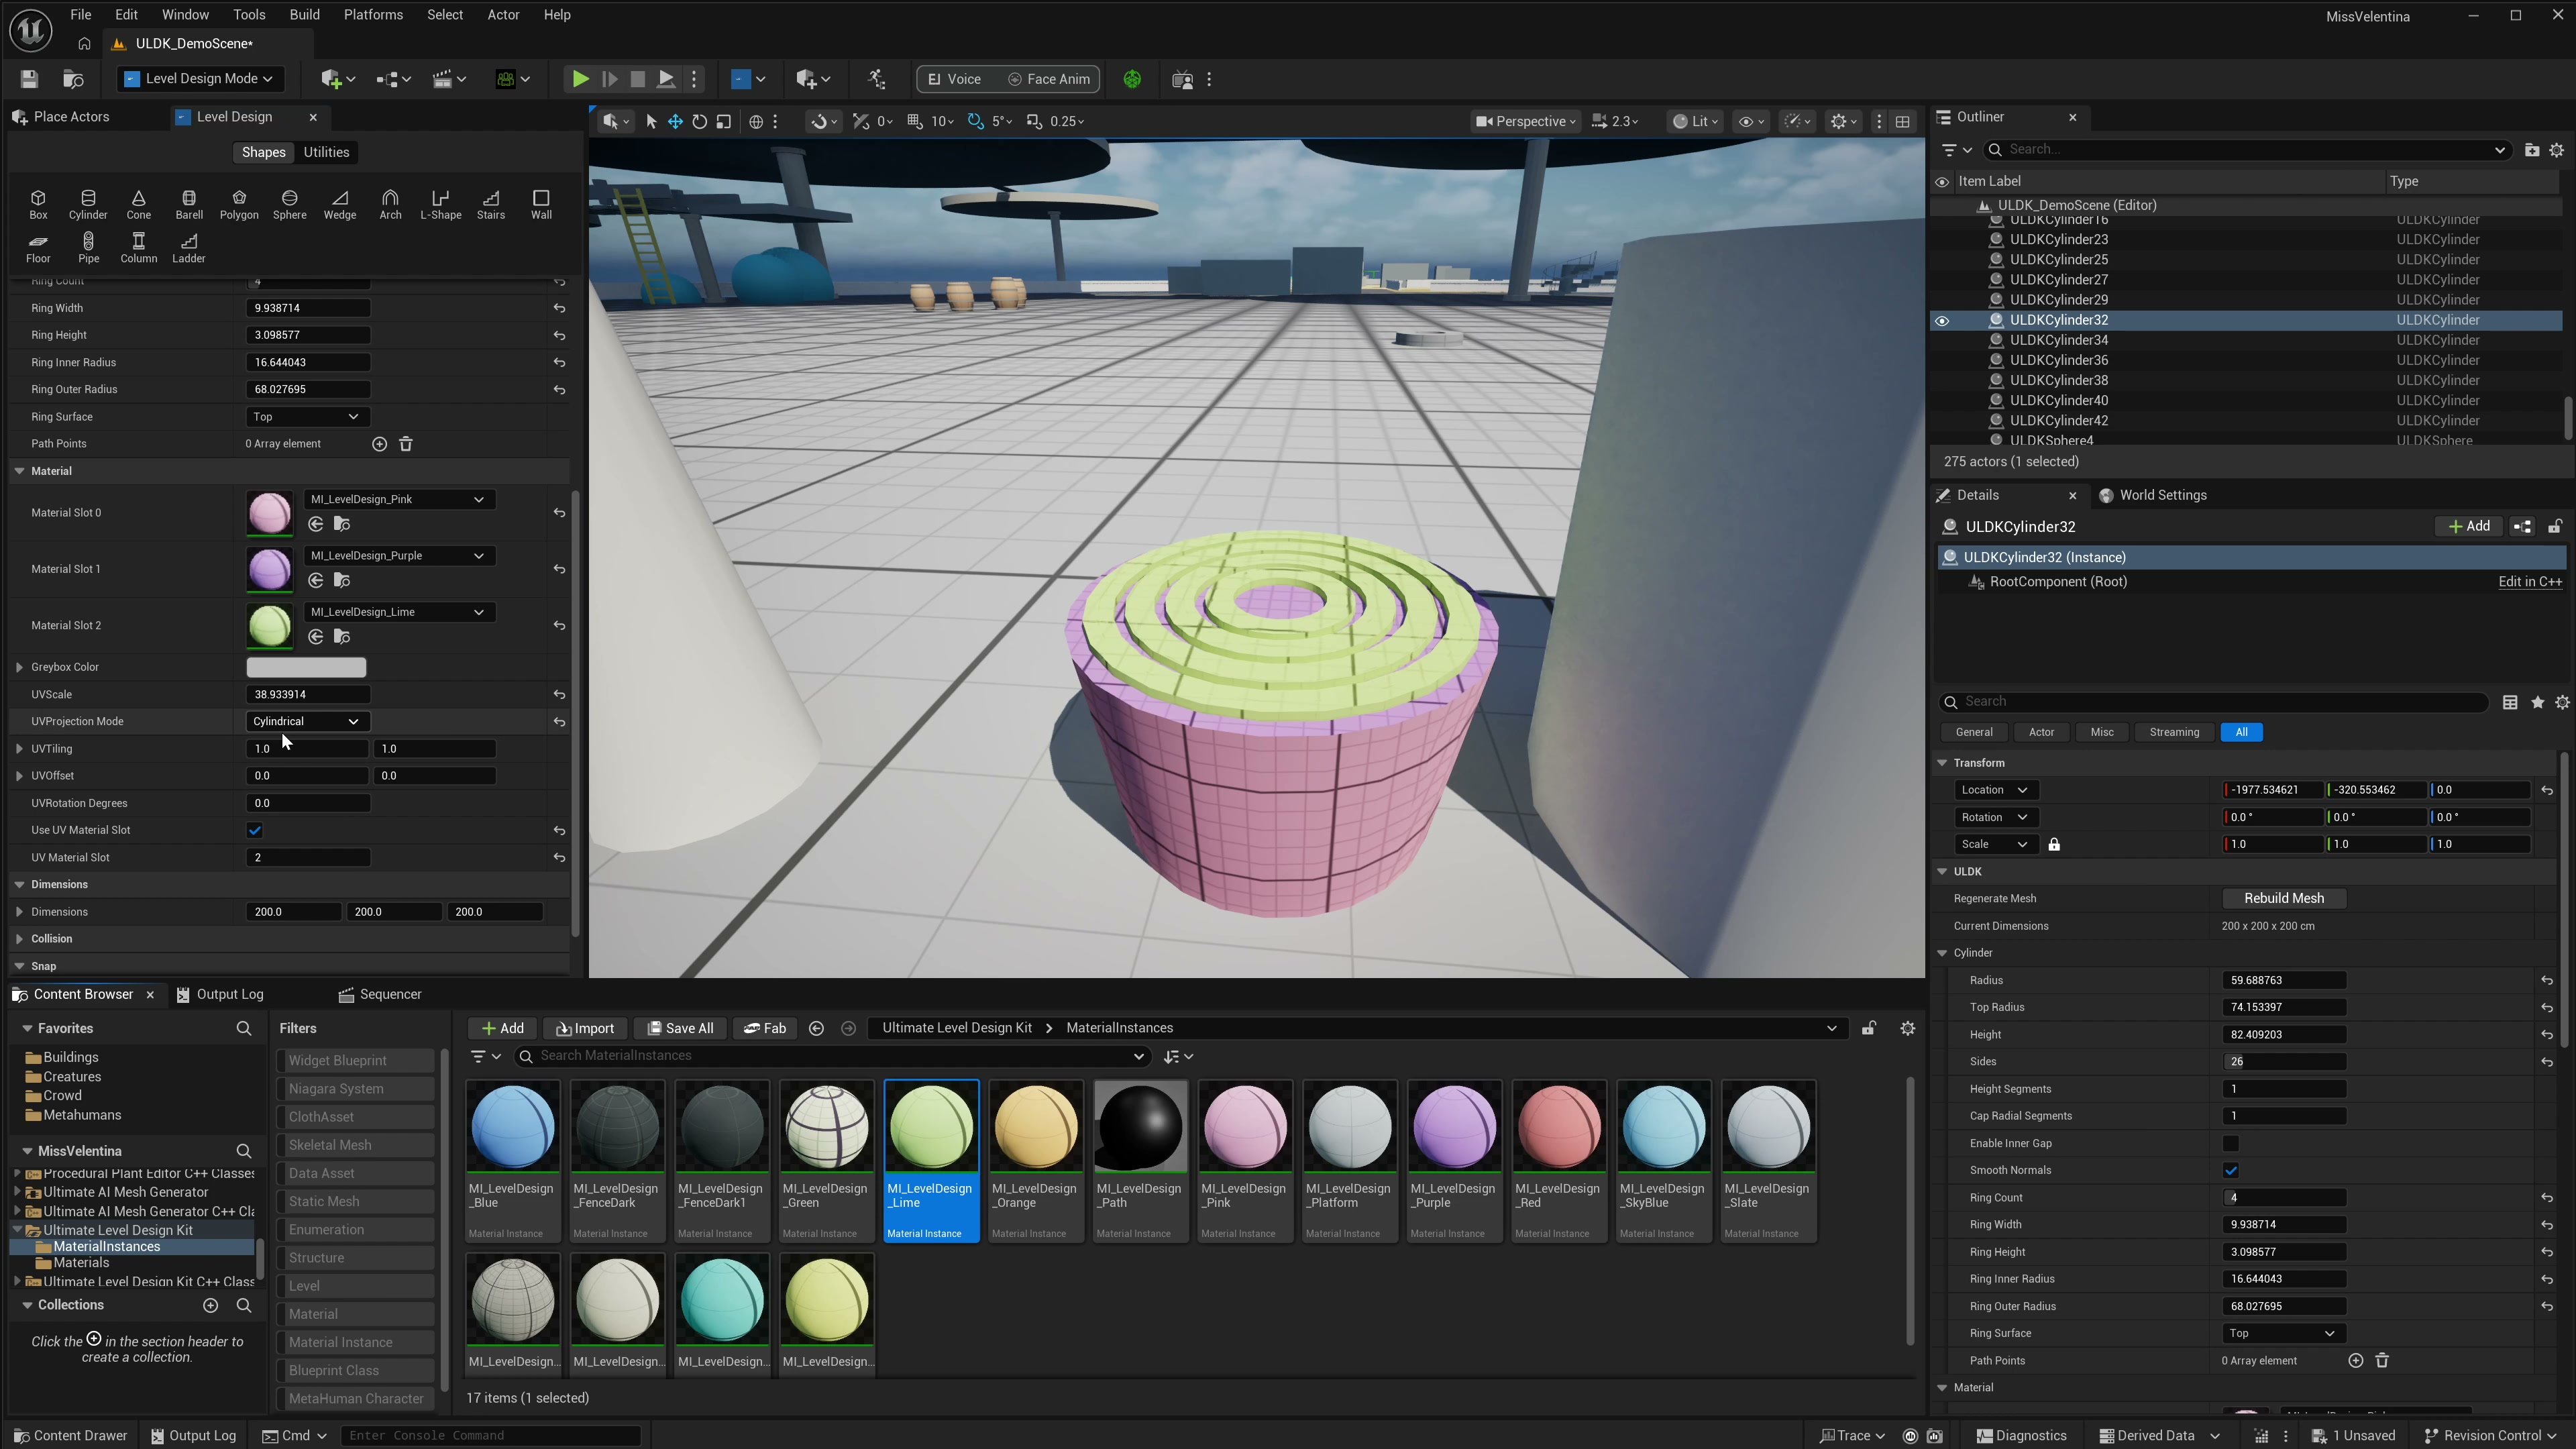
- Select a placed shape and assign Material Slot 0. Adjust UV Scale, UV Tiling or UV Rotation Degrees while watching a recognizable grid or texture.
- Enable Use UV Material Slot only for a per-section adjustment. Choose the existing UV Material Slot, change its UVs, then switch slots to check that the others retained their values.
- Save your level and inspect the whole blockout. For a path-based layout, choose Spline Path, set Spline Type = Road, draw the path and press Enter to confirm; then compare Road Width and the visible ribbon.
External mesh placement, fence, spline-mesh and custom-material workflows require the corresponding source assets. A placed procedural actor remains editable; this workflow does not demonstrate a standalone mesh export.